In this post, we will introduce you to the QA Toolbox, advise why they are necessary, and show you how to create one. In addition, there are tips for what to avoid when setting up and we highlight the benefits they can bring to large or small QA teams. Even a one-person QA team can gain from the better organization and time-saving that a QA toolbox can bring.
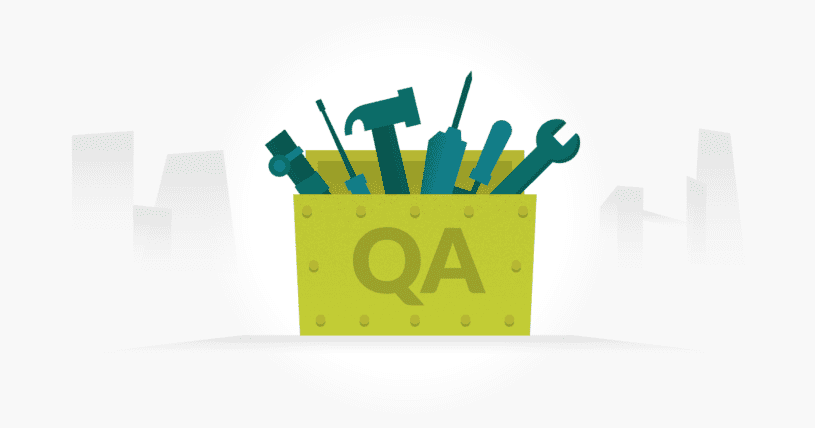
What is a QA Toolbox?
A toolbox for QA has similarities with a traditional toolbox that contains hammers and screwdrivers. A carpenter, or anyone who regularly needs physical tools to complete a job, keeps them in a toolbox to keep them handy. If I were an electrician, for example, I wouldn’t go to the job site without the tools required to perform the electrical work. If all my tools were back at my shop, I also wouldn’t go back and forth between the job site and my shop to retrieve one tool at a time. Consider this scenario (as absurd as it sounds) when you think about the need for a QA toolbox.
Tool Usage
Carpenters and electricians have certain tools they use every day, but also have other tools that are used only occasionally. Anyone in software development or QA has probably experienced a scenario where they go to a tool they haven’t used for a while because it fits a specific job. Often it’s locating those rarely used tools that cause a delay in progressing with a task, but having a centralized location for all your tools can alleviate this problem. Instead of asking yourself if you saved that link in a browser bookmark, a document, an email or a ticket, the link should be where you would expect it to be; in your QA toolbox.
Why is a QA Toolbox especially important for QA teams?
QA engineers often do a little bit of everything when it comes to ownership of software development tasks. Depending on the structure of an organization and their development team, QA may be tasked with a wide range of responsibilities. As well as the usual writing and executing test cases, QA may also be responsible for documenting requirements, creating builds for testing and releases, creating release notes, providing demos, and a lot more. As a result, QA needs to have easy access to a wide range of tools that can perform a wide range of functions.
What can be left out of a QA toolbox
Before we start on what goes into the Toolbox, let’s talk about what to leave out. Just like an electrician physically carrying a toolbox to a room inside a job site, the QA toolbox should be compact. A perfect example of something to leave out is the text explaining how to use a particular tool. While it is important information, it will slow you down when searching for what you need. Instead, include longer form items in separate document that’s easily accessible from the toolbox or the area where the tool itself can be found. Pages and pages of text that require digging and searching through to locate the resource at the time it’s needed misses the point of the QA toolbox being a quick and easily accessible resource.
Visual Representation is Important
Instead of registering loads of text, use shortened links with a clear description of the tool or document. A visual representation can be very helpful too. The access point to each tool should use concise wording that clearly explains to the user what the tool is, and its purpose. Remember that some tools won’t be needed often, so each time you open a badly labelled link that takes you to the wrong tool, you’ll have wasted time. Not only did you take a wrong turn by navigating there, but might also have had to dig up the credentials to the wrong tool before finding out you were in the wrong place all along.
What to Drop in your QA Toolbox
For this section, I’m not going to list specific tools that I think every tester needs because every QA team is different. Too much depends on the product that’s being tested and the role of QA in your organization. Remember, these should be links or shortcuts to documents, pages or tools and information. That being said, here are some examples that should give you a general starting point for filling up your Toolbox.
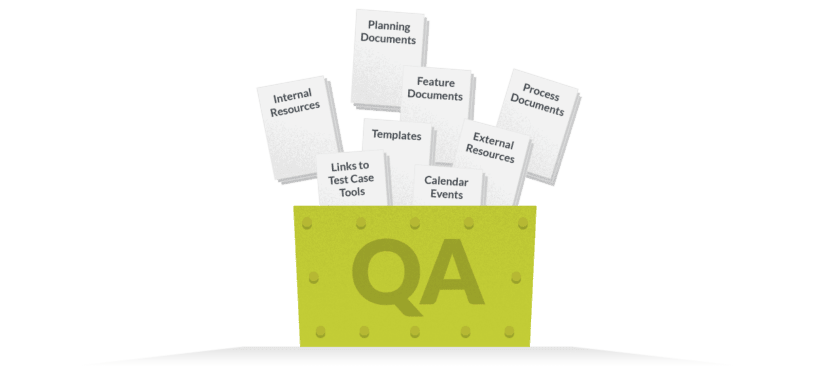
- Templates for creating test cases and bug reports
- Links to Test case management tools, with information
- QA or development process documentation
- Internal resources such as lists of contacts for each product or feature
- Links to getting started; documents for new employees
- Documents containing credentials for test accounts
- How-to documentation
- External resources such as helpful articles
- Calendar events such as product releases and timelines
- Planning documentation
- Feature documentation
Where should the Toolbox live?
Where you place the QA toolbox will depend on the tools your organization uses and your personal preference. It should be in a place that makes it simple to update often and is easily accessible to QA who will need to access it often. If you use Atlassian tools, you might want to use a Confluence page, for example. If you use a test case management tool for most documentation, it could simply be a ticket within that tool. You’ll want to be able to format it in a way that is easy to read and provides easy access.
Who will benefit the most from the QA toolbox?
Having all the needed resources in one place assists new employees in getting up to speed quickly. This also means new employees or contractors are less likely to trouble seasoned employees when looking for a tool to complete a task. It also makes it easier for non-QA personnel to fill in while the regular owner is out sick or on vacation. Having a toolbox available makes it easier for team members to find what they need when they are less familiar with tools or processes.
Conclusion
A QA toolbox is beneficial to small and large teams alike. While larger teams with contractors or a staff that rotate through various projects may benefit the most, even QA teams as small as a single individual will benefit from this organizational method. Perhaps the best thing about adding a toolbox is the minimal initial investment needed and subsequent maintenance. Don’t be afraid to start small and add to it as you go. With a toolbox in place, you may be surprised at how many tools are utilized over the course of a year. When adding each extra tool or resource, you may be reminded of a tool you used in the past that you would have otherwise forgotten.
About the writer

Brian Hamilton
Brian is a QA Engineer with over 20 years of broad software testing experience to draw on as a blog contributor for TestLodge.
All Brian Hamilton's articles