Smoke testing proves an application’s core functionality by employing a subset of test cases to assess high-level functionality. Its principal value lies in determining the application’s stability quickly.
Origin Story
In software, smoke testing does not involve real smoke (or at least, it shouldn’t). So why is it called smoke testing? Let’s take a quick look into where the term came from before we explore more about the topic.
There are a couple of possible origin stories; the first comes from the hardware industry. The idea is that when you’d fire up a new machine for the first time, and it starts blowing smoke, there’s probably a significant defect to address.
The other more popular origin story comes from the plumbing industry. Once a plumber finishes running and sealing pipes, they use a smoke bomb to blow smoke through the system and examine all lines for leaks. If they identify a leak, it’s a clear signal that additional work is needed before they can proceed.
How Smoke Testing Works
Whichever origin story you prefer, the objectives are the same for both industry and software testing, which is to verify that a system’s core functionality works. Of course, you won’t see smoke blowing out from your web browser because it’s only the term that has been borrowed. Software smoke tests contain a small subset of test cases, which enable a quick testing process that covers only the core features. This type of testing determines whether a build is stable enough to proceed, whether that’s with further testing or release.
Because smoke testing focuses on the core functionality of an app, most defects found through this method tend to be P1 (or high priority) bugs, significant enough to block progress. However, less critical issues may also be identified during a smoke test, although they are not the main focus.
Characteristics of Smoke Testing
We can summarize the characteristics as follows:
- Quickly performed
- Non-exhaustive testing approach
- Focuses on P1 defects, and main functionality
- It does not require written test cases
- A prerequisite to more thorough testing
Who Should Conduct Smoke Tests?
Typically, someone from the QA team or engineering team will run the tests. Still, the technique isn’t supertechnical or deep, so it is suitable for anyone who understands the product’s core functionality. For example, a support engineer might be qualified because they are familiar with the product’s main features, allowing them to identify blockers in those areas.
The Importance of Smoke Testing
Smoke testing helps identify critical defects early on, such as when developing a new feature that impacts major functionality. In these cases, the technique can help ensure all main functionality works already to prevent spending additional time and resources on more thorough testing after adding the new code. Doing this helps software teams save time and money.
Smoke testing can also verify a new build and avoid a scenario where customers encounter critical defects that the testing team could have otherwise identified.
How to Run a Smoke Test
Before starting work on a smoke test, embracing the idea of Happy Path Testing is useful. In other words, don’t focus on trying to “break” things. Instead, place your attention on verifying that things work. Test from the user experience perspective and focus on core functionality.
Here are three basic steps for conducting smoke tests:
1. Create a List of High-Level Scenarios to Test
Test scenarios might include logging in, saving data, exporting data, or other high-level and major functionality. Having created the list, repurposing it for future tests but with updates as the product evolves will save time and effort.
These tests are not meant to be exhaustive. A simple punch list of scenarios will do, and you might even be able to keep track of these in your head as you learn and understand the product’s core functionality.
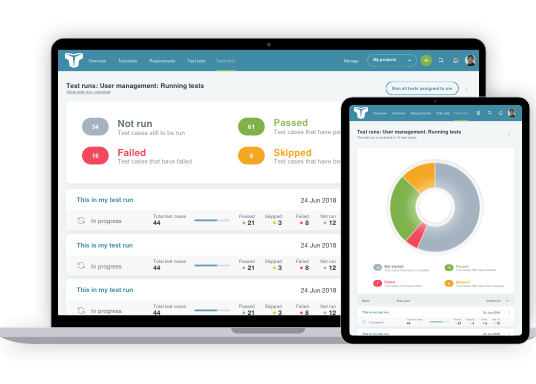
2. Record the results
You’ll want a straightforward way to record the results of your smoke test. This might mean logging defects in a bug tracking tool or using a test management tool to run and record the results.
3. Determine if the product is ready for additional testing
The product can move on to more thorough testing if your smoke test passes. However, if you’ve identified any blockers, you can hold off on that additional testing until you address the major defects.
Smoke Test Example
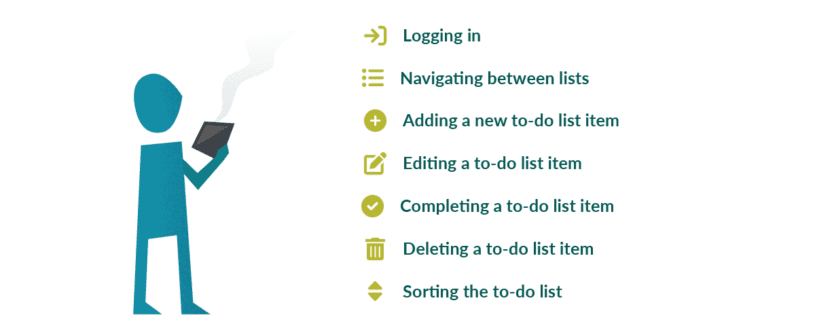
Let’s say we’re going to smoke-test a to-do list application. Here are some ideas for scenarios you may want to test during a smoke test:
- Logging in
- Navigating between lists
- Adding a new to-do list item
- Editing a to-do list item
- Completing a to-do list item
- Deleting a to-do list item
- Sorting the to-do list
As you can see, the focus is only on the core functionality of the to-do list app. If these areas have defects, the issues will be a progress blocker that needs addressing before further testing.
When to Conduct a Smoke Test
Perform smoke testing to validate a new environment build. For example, if you ship a new UAT build, you’ll want to ensure the core functionality is working. As mentioned earlier, this assessment takes place ahead of more thorough testing. It’s effectively a prerequisite to widespread testing.
Conclusion
Smoke tests are an effective way to locate major defects in software before testing the rest of the product at a deeper level. The benefits include saving time, fixing major issues more quickly, and keeping customers happy.
About the writer

Jake Bartlett
Jake Bartlett lives and works in Nashville, Tennessee. He has a background in software testing, customer support, and project management.
All Jake Bartlett's articles