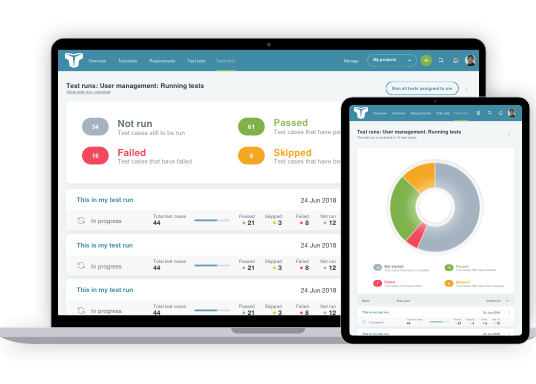
Integrating TestLodge with an issue tracker can help make your testing processes more straightforward and organized. Integrating allows tickets to be created automatically whenever a test fails, and this quick video shows you how it’s done.
Video Transcription
Hey. So you’ve got an external issue tracker all set up, now let’s see how Testlodge can integrate with it to automatically create tickets for when a test fails.
Firstly, we need to grant Testlodge access to your issue tracker account, and we can do this by selecting ‘Issue Trackers’ from the side menu and choosing to create a new integration. Next, pick an Issue Tracker from the many available choices in the drop-down before entering your login details to provide access, and this integration is ready to go.
Do you use different bug tracking tools for different projects? This isn’t a problem because you can integrate multiple issue trackers into a single TestLodge account.
The next thing to do is associate a TestLodge project with one in an issue tracker where your tickets will be created. To do this, edit the TestLodge project, and select an issue tracker from any of your available integrations, choose the correct project ID from the list, and save the changes.
Now, if we go to create a new test run from an existing suite, whenever a test fails, Testlodge will automatically create a ticket in your issue tracking system, taking away the tedious task of manually creating them. You can also set various issue tracking options directly from TestLodge, such as the ticket priority or assigned user. These options can vary slightly depending on which issue tracker is being used.
If there’s already a related ticket, you can choose to associate it with the test, and TestLodge will then update this instead of creating a new one. You can also choose to update the status of this existing ticket if needed, but again update options do vary in different tools.
Let’s quickly jump over to an issue tracker. Here, tickets for the failed tests have been created, all of which contain the important and relevant information needed by a developer to replicate and fix the issue.
Once all tickets are resolved, we can go back to Testlodge and choose to re-run all the failed tests to verify any fixes.
Now, depending on which issue tracker integration is being used, there are some other pretty cool additional features.
You’ll have the ability to request TestLodge pull back the ticket status of all failed tests within a test run.
Not only that, but you can re-run tests based on the result in TestLodge, as well as the ticket status in your issue tracking software. This means you could create a re-run with all tests that failed and have resolved tickets.
When executing the re-run, if a ticket from your issue tracker has already been created for the test, Testlodge will update this instead of creating a new one – you can even change the ticket status directly from TestLodge.
And that’s it for our quick overview on integrating issue trackers in Testlodge. If you’re new to our software, head over to testlodge.com, and sign up for your free 30-day trial.
Further Reading:
Explore all our issue tracker integrations
Issue tracker knowledge base article – Further details on how to setup an integration
